
Mailcow Mail Server Is Very Simple To Install On Vps. Also Mailcow Provides A Modern Web User Interface For User And Server Administration. MailCow Is Open Source Project That Means You Can Install On Unlitilmted Vps Without Any Cost. To learn more about MailCow you can read their official documentation.
Vps Machine Requirements :-
- 2 VCPU
- 4 GB of RAM
- 80 GB storage
- Ubuntu & Centos ( In this tutorial i Am Uisng Ubuntu )
Popular VPS provider with Open port 25
List of VPS Hosting Providers Offering Open Port 25
- Vps Provider With Port 25 Open
- dartnode
- rarecloud
- Contabo.
- Ultahost
- Servebyte.
- OVH.
- Alexhost
- Knownhost
- Racknerd
- Turnkey internet.
- Vpsbg
- Hostwinds
Basic DNS settings
First match the four basics:
# Name              Type       Value
mail                IN A       1.2.3.4 (ip adderss)
autodiscover        IN CNAME   mail.yourdomain.com
autoconfig          IN CNAME   mail.yourdomain.com
@ IN MX 10 mail.yourdomain.com- Install Docker
2. Install Mailcow
1 . Install Docker And Docker-Compose
According to the docker-ce document, I installed it by myself, but did not follow the mailcow document.
sudo apt-get update -ysudo apt-get install apt-transport-https ca-certificates curl software-properties-common -ycurl -fsSL https://download.docker.com/linux/ubuntu/gpg | sudo gpg --dearmor -o /usr/share/keyrings/docker-archive-keyring.gpgecho \
"deb [arch=amd64 signed-by=/usr/share/keyrings/docker-archive-keyring.gpg] https://download.docker.com/linux/ubuntu \
$(lsb_release -cs) stable" | sudo tee /etc/apt/sources.list.d/docker.list > /dev/nullsudo apt-get update -ysudo apt-get install docker-ce docker-ce-cli containerd.iosudo docker run hello-world
sudo curl -L "https://github.com/docker/compose/releases/download/1.29.1/docker-compose-$(uname -s)-$(uname -m)" -o /usr/local/bin/docker-compose
sudo chmod +x /usr/local/bin/docker-composedocker-compose --version2. Install MailCow :-
Follow These Commands To Install MailCow Mail Server
root@mail:~# hostnamectl set-hostname mail.yourdomain.comroot@mail:~# apt install git -y
root@mail:~# cd /opt
root@mail:/opt# git clone https://github.com/mailcow/mailcow-dockerizedroot@mail:/opt# cd mailcow-dockerized
root@mail:/opt/mailcow-dockerized# ./generate_config.sh
root@mail:/opt/mailcow-dockerized# docker-compose pull

Pulling unbound-mailcow   ... done
Pulling mysql-mailcow     ... done
Pulling redis-mailcow     ... done
Pulling clamd-mailcow     ... done
Pulling php-fpm-mailcow   ... done
Pulling sogo-mailcow      ... done
Pulling dovecot-mailcow   ... done
Pulling rspamd-mailcow    ... done
Pulling postfix-mailcow   ... done
Pulling memcached-mailcow ... done
Pulling nginx-mailcow     ... done
Pulling acme-mailcow      ... done
Pulling netfilter-mailcow ... done
Pulling watchdog-mailcow  ... done
Pulling dockerapi-mailcow ... done
Pulling solr-mailcow      ... done
Pulling olefy-mailcow     ... done
Pulling ejabberd-mailcow  ... done
Pulling ofelia-mailcow    ... done
Pulling ipv6nat-mailcow   ... done
root@mail:/opt/mailcow-dockerized# docker-compose up -d
Creating network "mailcowdockerized_mailcow-network" with driver "bridge"
Creating volume "mailcowdockerized_vmail-vol-1" with default driver
Creating volume "mailcowdockerized_vmail-index-vol-1" with default driver
Creating volume "mailcowdockerized_mysql-vol-1" with default driver
Creating volume "mailcowdockerized_mysql-socket-vol-1" with default driver
Creating volume "mailcowdockerized_redis-vol-1" with default driver
Creating volume "mailcowdockerized_rspamd-vol-1" with default driver
Creating volume "mailcowdockerized_solr-vol-1" with default driver
Creating volume "mailcowdockerized_postfix-vol-1" with default driver
Creating volume "mailcowdockerized_crypt-vol-1" with default driver
Creating volume "mailcowdockerized_sogo-web-vol-1" with default driver
Creating volume "mailcowdockerized_sogo-userdata-backup-vol-1" with default driver
Creating volume "mailcowdockerized_xmpp-vol-1" with default driver
Creating volume "mailcowdockerized_xmpp-upload-vol-1" with default driver
Creating mailcowdockerized_sogo-mailcow_1 ... done
Creating mailcowdockerized_olefy-mailcow_1 ... done
Creating mailcowdockerized_memcached-mailcow_1 ... done
Creating mailcowdockerized_clamd-mailcow_1 ... done
Creating mailcowdockerized_unbound-mailcow_1 ... done
Creating mailcowdockerized_watchdog-mailcow_1 ... done
Creating mailcowdockerized_dockerapi-mailcow_1 ... done
Creating mailcowdockerized_solr-mailcow_1 ... done
Creating mailcowdockerized_ejabberd-mailcow_1 ... done
Creating mailcowdockerized_redis-mailcow_1 ... done
Creating mailcowdockerized_mysql-mailcow_1 ... done
Creating mailcowdockerized_php-fpm-mailcow_1 ... done
Creating mailcowdockerized_postfix-mailcow_1 ... done
Creating mailcowdockerized_dovecot-mailcow_1 ... done
Creating mailcowdockerized_nginx-mailcow_1 ... done
Creating mailcowdockerized_ofelia-mailcow_1 ... done
Creating mailcowdockerized_netfilter-mailcow_1 ... done
Creating mailcowdockerized_rspamd-mailcow_1 ... done
Creating mailcowdockerized_acme-mailcow_1 ... done
Creating mailcowdockerized_ipv6nat-mailcow_1 ... doneOpen All Required Ports
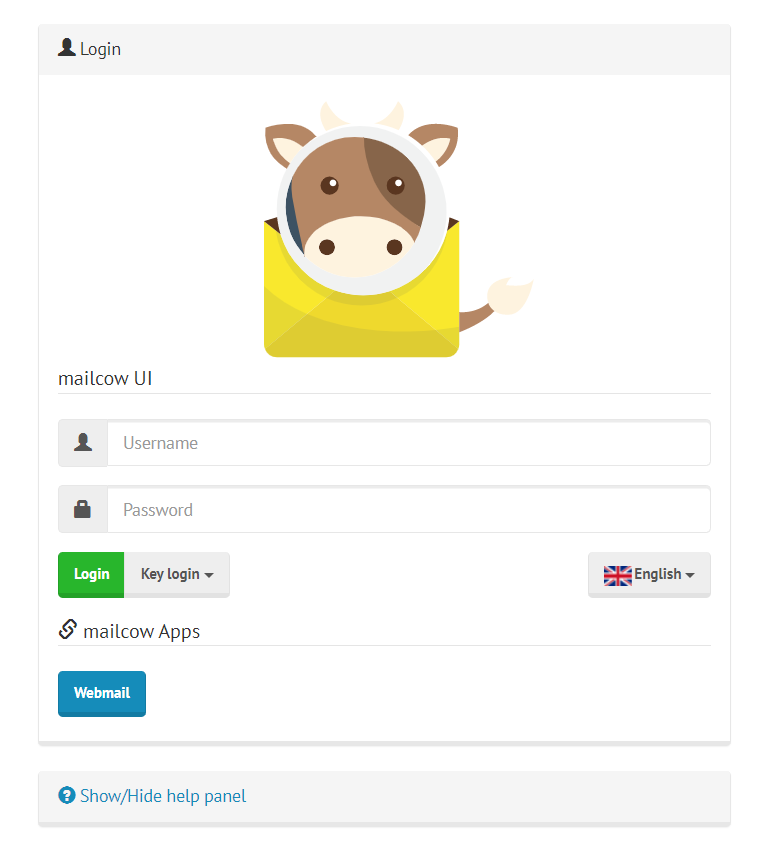
root@mail:~# sudo ufw allow 25,80,443,110,143,465,587,993,995/tcpVisit the domain name you entered before, and you should be able to see the backend of mailcow. Use the default account admin and password to moohoo log in to the background.
Add a domain name
Select Configuration -> Mailboxes -> Add domain on the top navigation bar to add a domain name
Add user
Go to the Mailboxes page again, select Add mailbox and fill in the relevant information.
At this point, you should be able to start sending emails. Try sending a letter via SMTP with the above information!
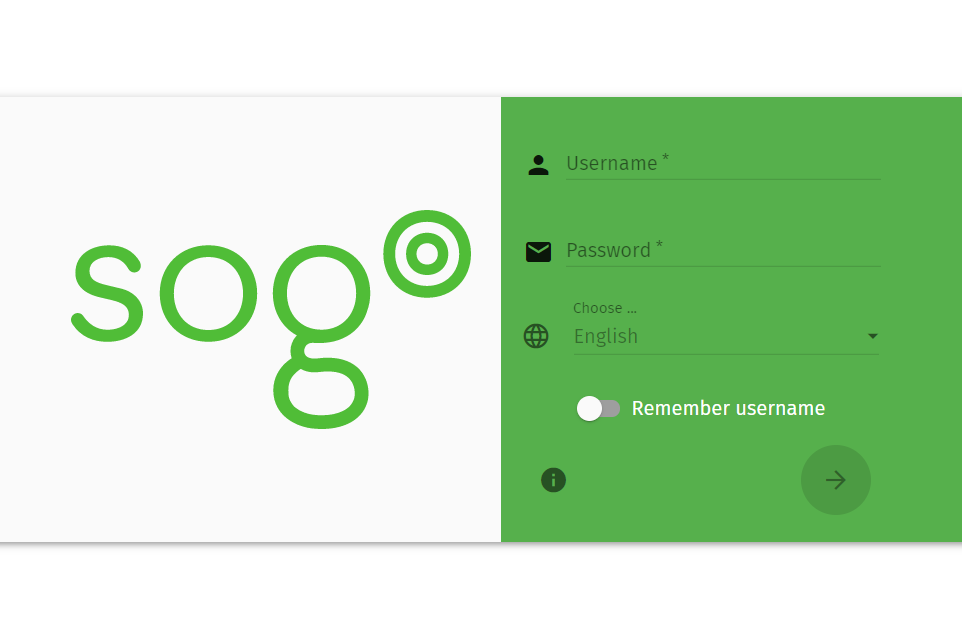
To access mailbox go to https://mail.yourdomain.com/sogo and enter username and password.
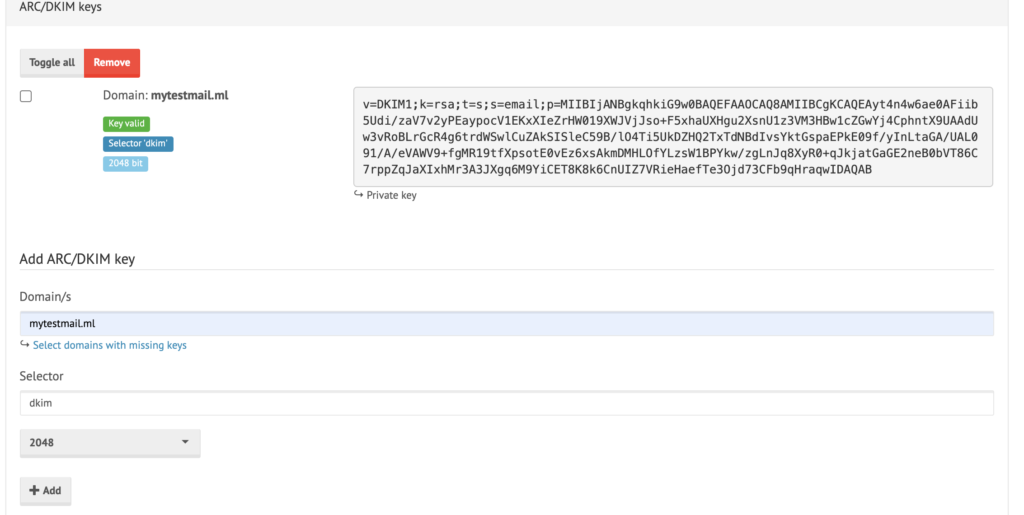
Create the DKIM key
On the mailcow web page, configure -> Administration -> ARC/DKIM keys, add a dkim, Domainfill in xxx.xxx, Selectorfill in dkim, and choose 1024 for length (2048 looks like Dnspod does not support), and the generated result is shown in the figure:
SPF record
TXT @ “v=spf1 mx a -all”DMARC record
TXT _dmarc “v=DMARC1; p=none; fo=1; rua=mailto:[email protected]; ruf=mailto:[email protected]”And Awesome, Now you can test your MailCow Mail Server. I hope you enjoyed this tutorial for smtp server configuration.
Don't send a lot of mails directly you will be blocked ! .. . Warm-Up Your Ip Address First.