KumoMTA Tutorial 2026: Open-Source PowerMTA Alternative Guide
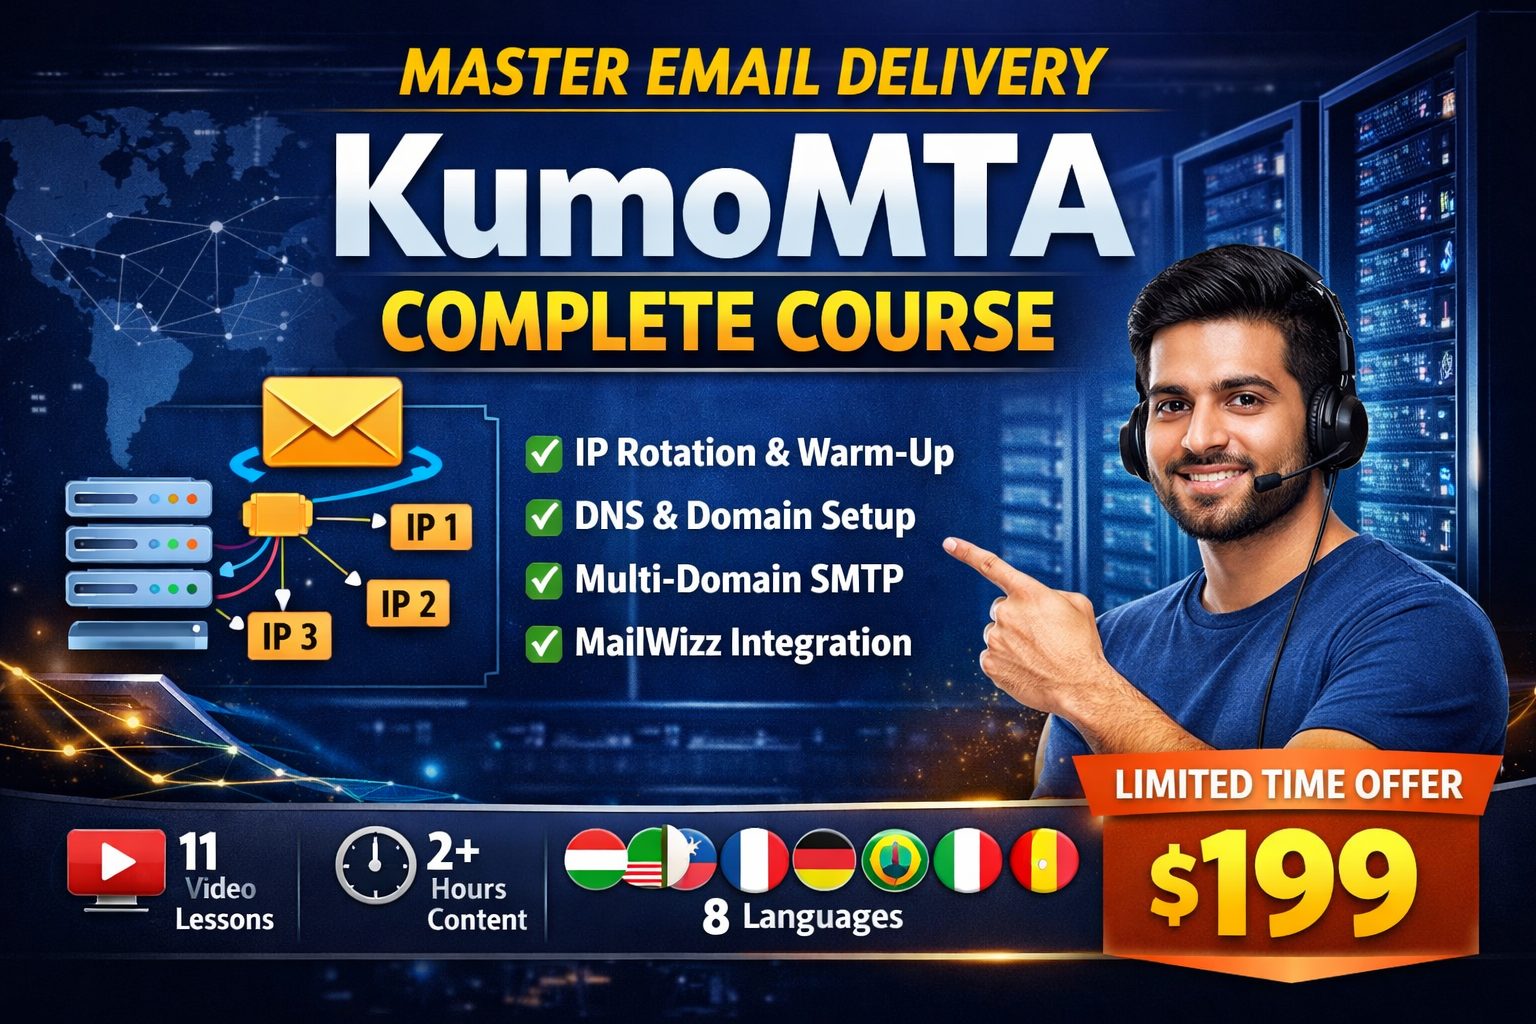
Discover KumoMTA – the next-generation open source MTA built for high-volume email senders. Learn features, benefits, and how to master it in 2026.

Discover KumoMTA – the next-generation open source MTA built for high-volume email senders. Learn features, benefits, and how to master it in 2026.

Learn how PowerMTA helps you send millions of emails with high deliverability. A complete beginner-to-advanced guide for marketers and developers in 2026.

Unlock unparalleled email deliverability! This comprehensive guide walks you through installing PowerMTA on Ubuntu 24, from prerequisites to configuration.

Unlock high-volume email delivery with PowerMTA on Ubuntu 24. This guide walks you through the complete installation and initial setup steps for peak performance.

Looking for a browser that combines speed, security, and smart automation? Meet Comet Browser – your AI-powered partner for research, marketing, and technical work. Discover how Comet Browser can transform your productivity today! Why Choose Comet Browser in 2025? Key Features: How to Start with Comet Browser: Ready to Level Up?Try Comet Browser today and … Read more
Prerequisites Before starting, ensure you have: Step 1: Install Docker and Docker Compose If not already installed: Step 2: Create Project Directory Step 3: Create Docker Compose File Create docker-compose.yml: Step 4: Configure Environment Variables Create .env file: Step 5: Create Required Directories Step 6: Verify DNS Configuration Ensure your domain points to your server: … Read more
Unlock the power of real-time, personalized financial insights by linking your Zerodha account to AI assistants like Claude, Cursor, and Windsurf—completely free via the new Kite Model Context Protocol (MCP). Follow this detailed walkthrough to equip your AI with live portfolio data, interactive capabilities, and the ability to answer complex questions in natural language. 1. … Read more
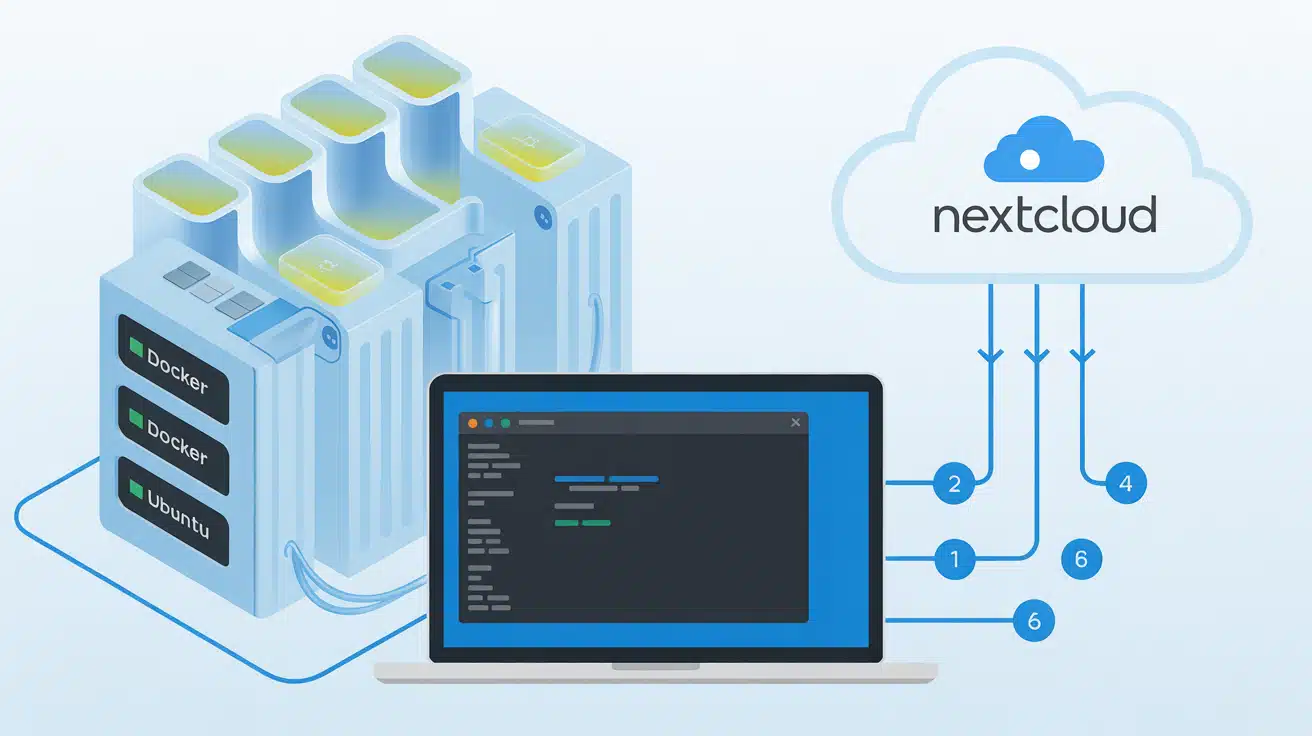
Introduction In today’s digital world, having your own cloud storage solution is becoming increasingly important for both individuals and businesses. Nextcloud offers an excellent open-source alternative to commercial cloud services like Dropbox and Google Drive, giving you complete control over your data while providing powerful collaboration features. In this comprehensive guide, I’ll walk you through … Read more

Creating a secure, personal VPN has never been easier thanks to WireGuard and the excellent WG-Easy web UI. In this guide, I’ll walk you through setting up your own WireGuard VPN server using Docker, complete with a user-friendly web interface for managing connections. WireGuard is a modern VPN protocol that outperforms traditional options like OpenVPN … Read more
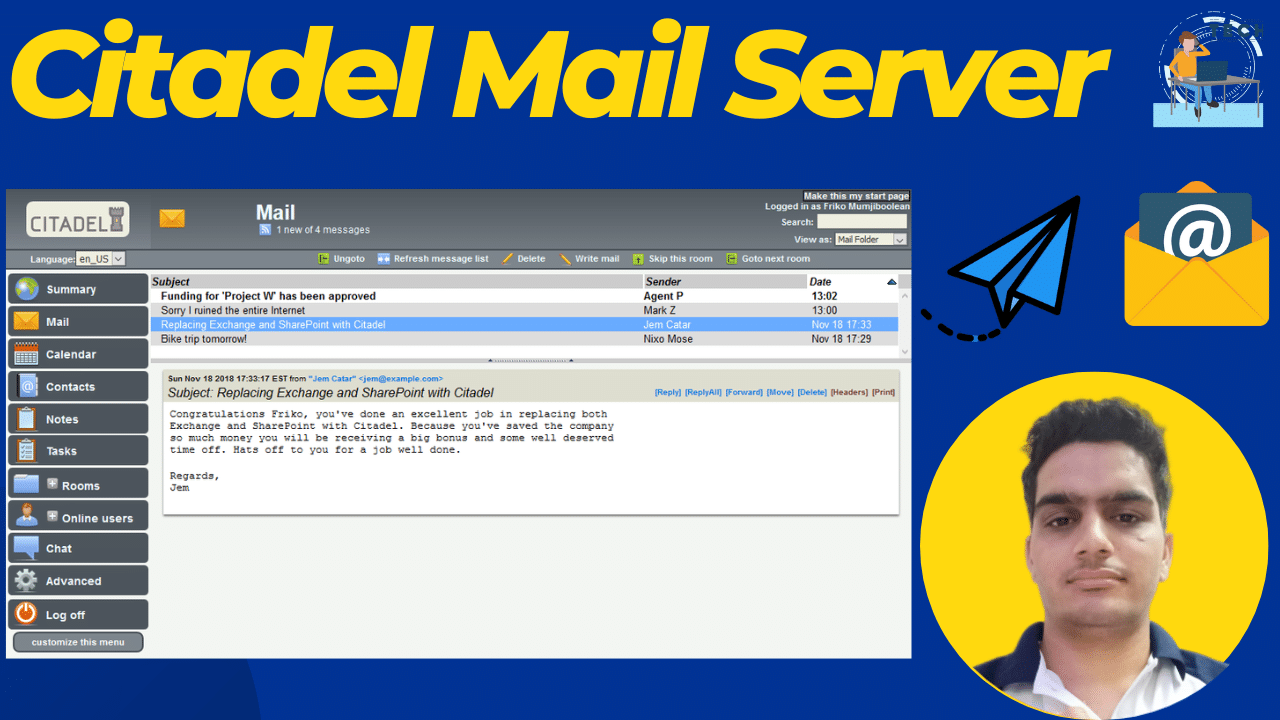
Introduction Citadel is a powerful, open-source mail server that includes email, calendaring, contacts, and collaboration features. It is simple to install and requires minimal configuration. This guide will walk you through the Citadel mail server setup on a Linux-based VPS or dedicated server. Prerequisites Before starting, ensure you have the following: Configure DNS Records Type … Read more