
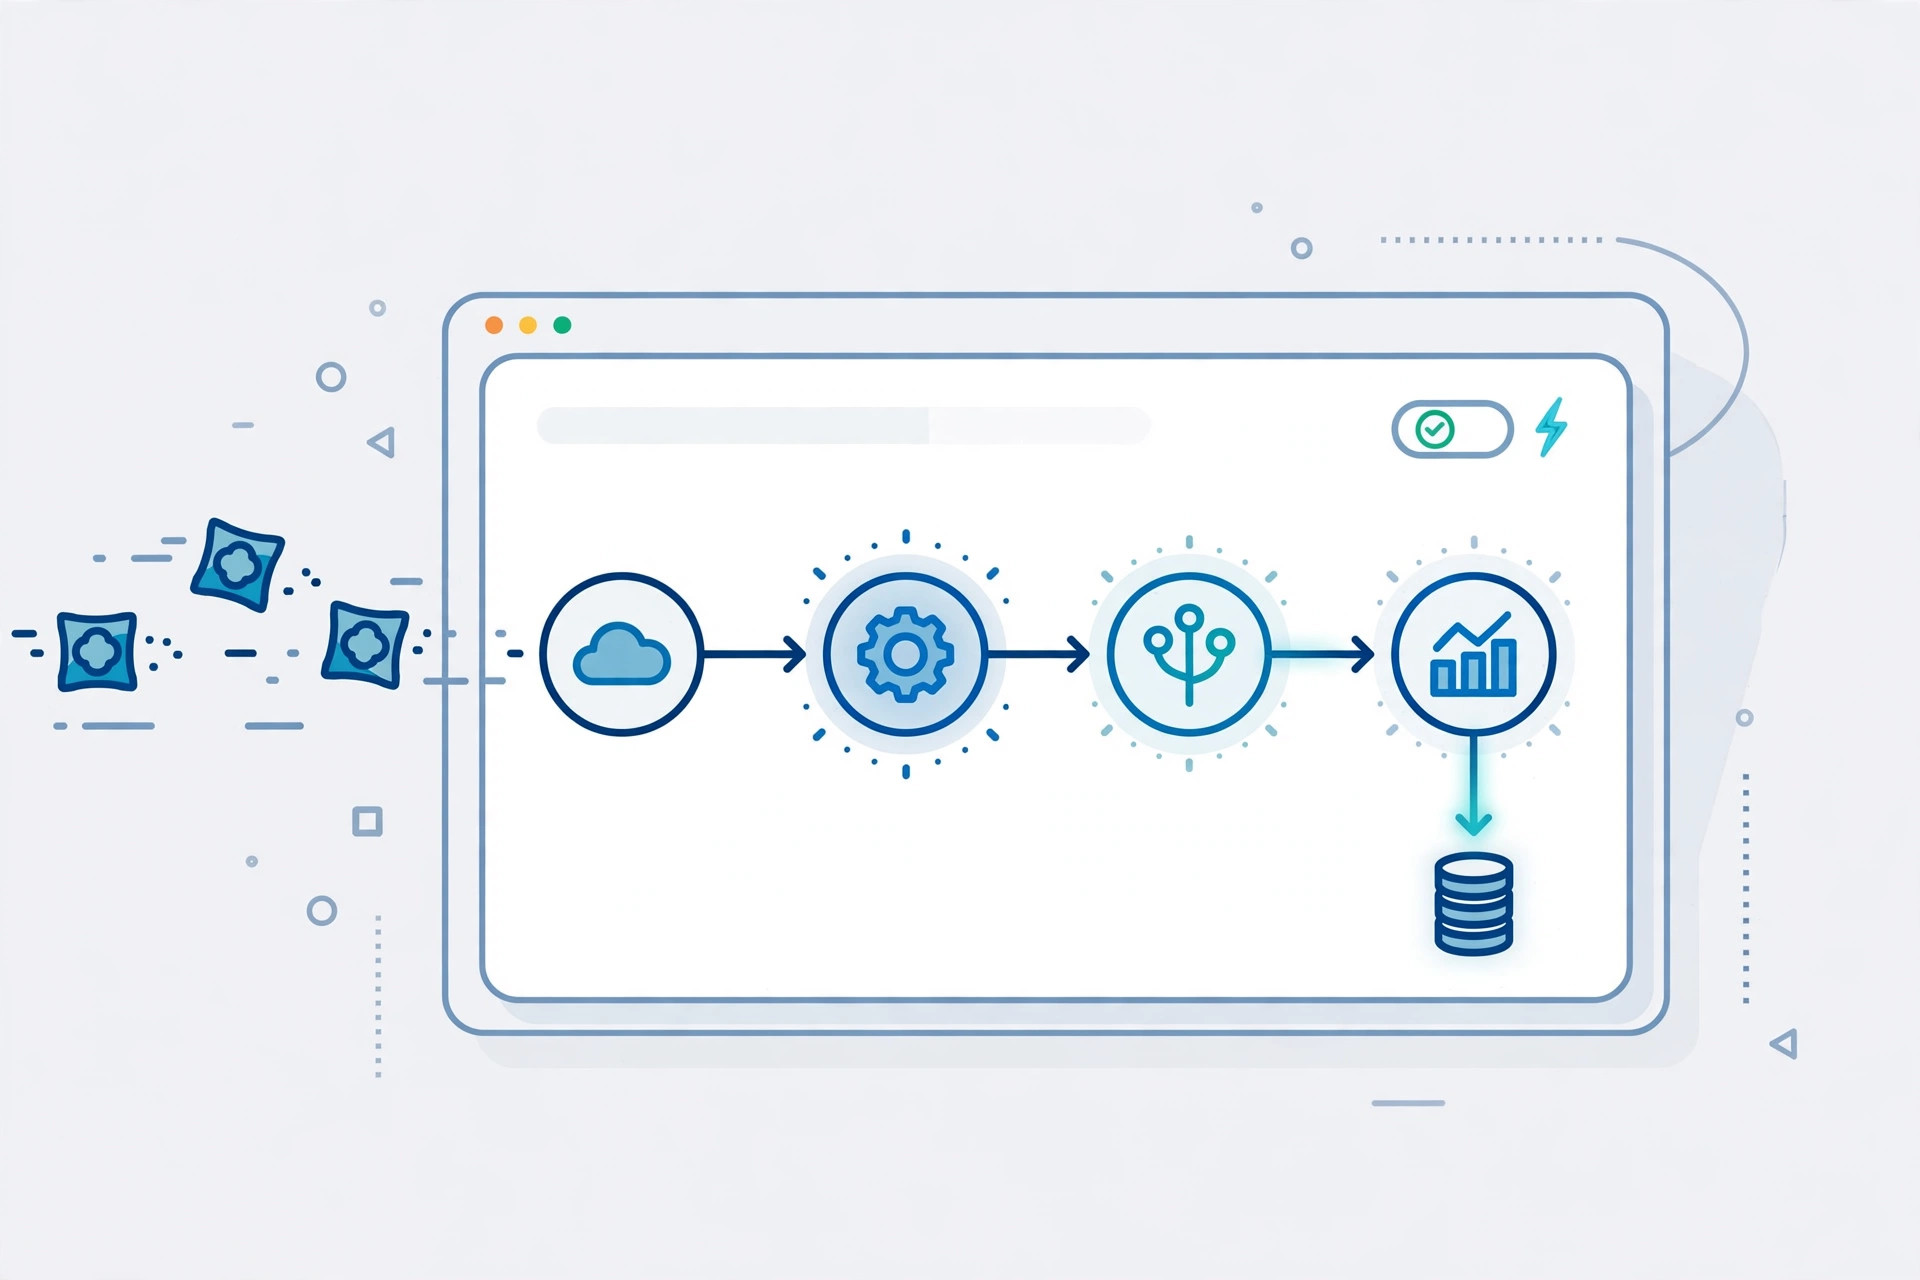
If you have ever wanted your apps to “talk” to your automations, n8n webhooks are the fastest way to make it happen. A webhook is simply a URL that n8n gives you; when any service or script sends an HTTP request to that URL, your workflow wakes up and runs. No polling, no cron jobs, no delay — your automation reacts the moment an event occurs.
In this beginner's guide, you'll learn what n8n webhooks are, how to create your first one, how to choose between GET and POST, how to pass data in, and how to secure your webhook URLs. By the end, you'll have a working webhook-triggered workflow you can reuse for everything from form submissions to server alerts.
What Are n8n Webhooks?
A webhook is a user-defined HTTP callback. Instead of n8n asking a service “did anything happen?” every five minutes (polling), the service tells n8n directly by calling a URL. The n8n webhook node is a trigger node — it sits at the start of a workflow and listens for incoming requests.
Think of it like a doorbell versus knocking on the door every few minutes to check if someone is home. Webhooks are instant, efficient, and the backbone of event-driven automation. Common uses include:
- Receiving form submissions from a website contact form
- Getting payment notifications from Stripe or Razorpay
- Triggering deploys when code is pushed to GitHub
- Forwarding server monitoring alerts into Slack or email
Creating Your First n8n Webhook
Let's build a simple workflow that receives data and logs it. You need n8n running — either n8n Cloud or a self-hosted instance.
Step 1: Add the Webhook Node
Create a new workflow and add a Webhook node as the first (trigger) node. n8n will show you two URLs: a test URL (works while you're testing in the editor) and a production URL (works once the workflow is active). For this guide, click “Listen for test event” so n8n waits for your first request.
Step 2: Send a Test Request
From your terminal, send a POST request with curl:
curl -X POST https://your-n8n-domain/webhook-test/my-first-hook \
  -H "Content-Type: application/json" \
  -d '{"name":"Vikash","event":"signup"}'
Switch back to n8n — you'll see the request appear with the JSON body parsed into fields you can use downstream. Add a second node (for example, a Slack or Gmail node, or just a “NoOp”/code node) to do something with {{$json.name}}.
Step 3: Activate for Production
Toggle the workflow Active in the top right. Now the production URL (/webhook/... instead of /webhook-test/...) is live. Test URLs only work while the editor is listening; production URLs work 24/7 as long as the workflow is active.
GET vs POST: Which HTTP Method Should You Use?
The n8n webhook node lets you accept GET, POST, PUT, PATCH, and DELETE. For beginners, the choice is usually between GET and POST:
- GET — data travels in the URL query string (e.g.
[email protected]). Good for simple triggers, verification callbacks, and services that only support GET. - POST — data travels in the request body as JSON or form data. Best for forms, API callbacks, and anything with more than a couple of fields.
Set “HTTP Method” to the one your sending service uses, or leave it on the default that accepts all methods if you're unsure. Access query parameters with {{$json.query}} and body data with {{$json.body}} in later nodes.
Reading and Using Webhook Data
Every incoming request arrives as a JSON item with a predictable shape. The body fields become top-level keys, and n8n also exposes headers, params, and query objects. A few practical tips:
- Use a Set or Code node right after the webhook to normalize field names before the rest of the workflow touches them.
- If the sender posts form-encoded data, n8n parses it automatically — no extra work needed.
- For large payloads, enable “Response Mode: When Last Node Finishes” so the sender gets a meaningful reply instead of an instant empty 200.
Securing Your n8n Webhooks
Webhook URLs are effectively secret tokens: anyone who knows the URL can trigger your workflow. Take these precautions:
- Use the production URL's random path. n8n generates a long random string for the path — don't shorten it to something guessable.
- Verify signatures. Services like Stripe and GitHub sign their webhook payloads with a shared secret. Add an IF or Code node that recomputes the HMAC and rejects mismatches.
- Require authentication. The webhook node supports Basic Auth and header-based auth — use one of them for webhooks that don't come with signatures.
- Run n8n behind HTTPS. Webhook data in transit over plain HTTP can be intercepted. A reverse proxy with Let's Encrypt (Nginx or Caddy) is the standard self-hosted setup.
Responding to the Sender
By default, the webhook node immediately replies with a 200 and “Workflow was started.” You can change this under “Response Mode”:
- When Received — instant acknowledgement; workflow continues in the background.
- When Last Node Finishes — the sender waits for your workflow's final output, which you return with a Respond to Webhook node. Perfect for building simple APIs.
The Respond to Webhook node lets you set the status code, headers, and body — enough to build JSON APIs, redirect pages, or even serve small HTML snippets directly from n8n.
Key Takeaways
- n8n webhooks turn any HTTP request into a workflow trigger — no polling required.
- Use the test URL while building and the production URL once the workflow is active.
- POST with a JSON body is the best default for most integrations.
- Always secure webhook URLs with signatures or auth, and run n8n over HTTPS.
- The Respond to Webhook node lets your workflows answer back, turning n8n into a lightweight API server.
Related Guides
- Best VPS Providers with Open Port 25 — pick a VPS to self-host n8n on.
- How to Install PowerMTA on Ubuntu 24 — pair n8n with your own mail server for automation-driven sending.